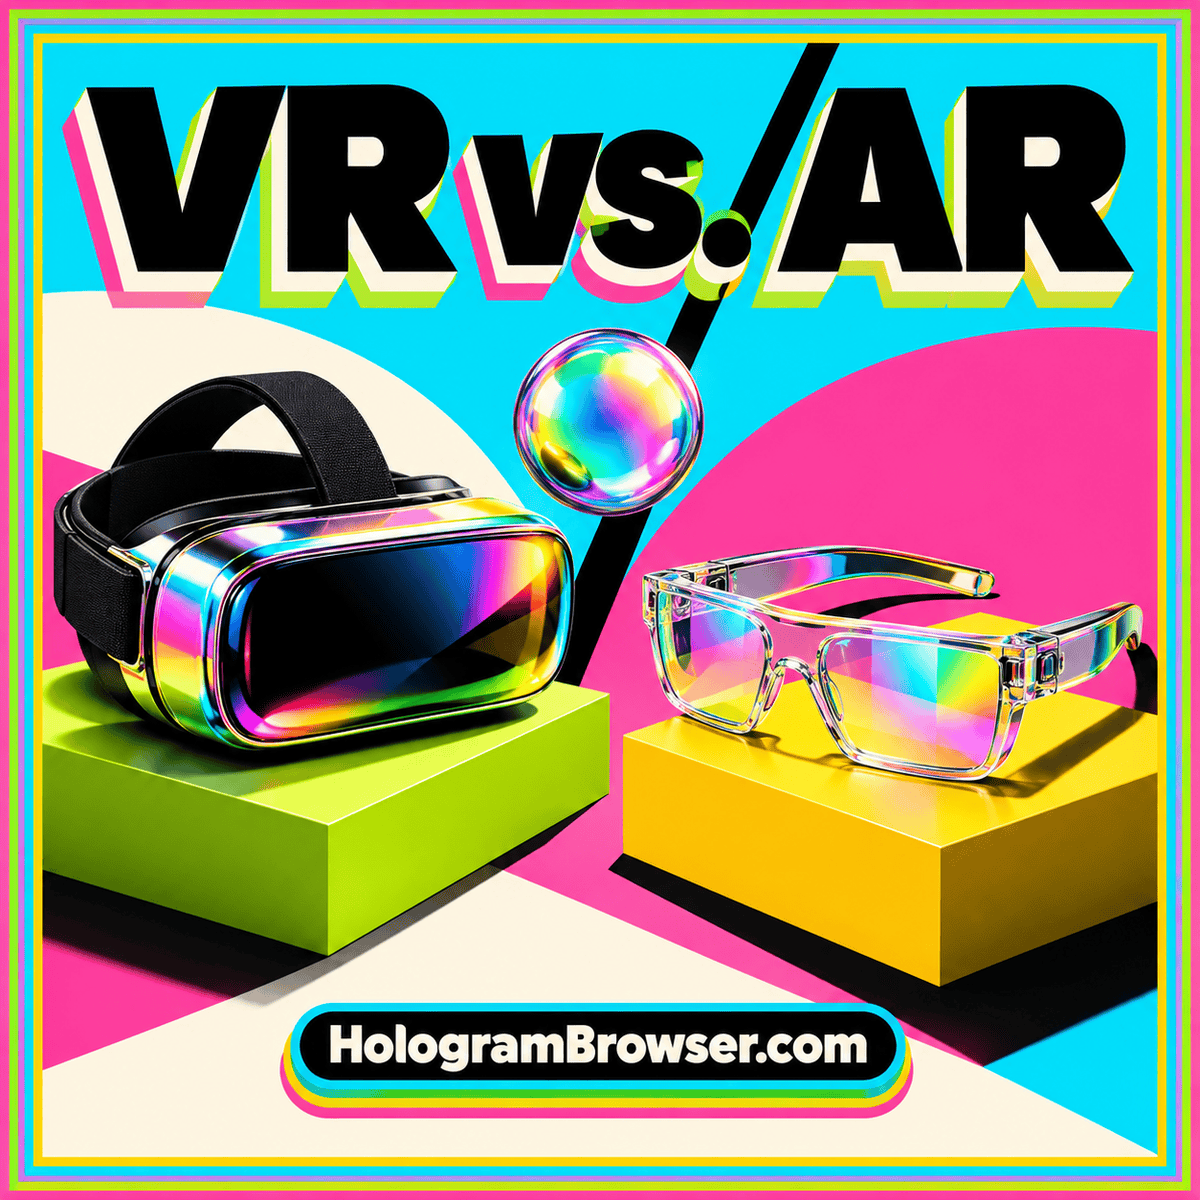
VR Holograms vs. AR Holograms: What Actually Changes?
Compare virtual and augmented reality by room context, object placement, interaction, and practical use rather than the hologram label.
Read the guideUnderstand what happens when a digital object appears alongside your physical surroundings. Explore placement, scale, camera views, and the practical limits of AR.
An AR hologram places a digital object within a view of your surroundings. A teaching model can appear above a desk, or a proposed installation can occupy a corner of a room. That context helps you explore the object’s apparent size, orientation, and relationship to familiar things.
The image is presented through a screen or compatible headset. Its usefulness depends on the model, the viewing system, and the question you want to answer. This overview explains what makes AR placement convincing and how to begin with a small, purposeful experience.
An AR system combines a rendered model with information about the viewer’s position and surroundings. As the viewpoint moves, the model’s perspective changes. Supported surface detection or hit testing can help an experience offer a location for placing the object.
The application still needs to explain that process. A placement marker, a confirmation action, and an obvious way to reposition the model can make an unfamiliar interaction understandable. If tracking changes or the scene needs resetting, the visitor should have a clear way to recover.
Choose a question that benefits from physical context. You could explore how much visual space a sculpture occupies, explain the shape of a machine component, or compare a teaching model with a nearby reference object.
Keep dimensions visible when size is part of the question. Distinguish the original scale from any resizing allowed for inspection. An attractive placement can support a discussion, while consequential fit decisions still need the relevant measurements and design information. Decide in advance which conclusion the viewer should be able to draw.
Availability varies across devices, browsers, and AR features. A WebXR experience needs a compatible configuration, a secure context such as HTTPS, deliberate user initiation, and the required permissions. Some web experiences instead hand an asset to a supported native AR viewer, where behavior may differ from the page.
Tracking and placement can also vary with the environment. Test the actual setting when possible, and make room for the viewer to use the intended interaction comfortably. Provide an ordinary model view or useful images and text for visitors who cannot enter AR.
Select a model with known dimensions and a clear front, base, and purpose. Review its materials, orientation, and visible detail in the destination viewer. Then try one complete journey: open the page, enter AR, place the object, inspect it, reset it, and return to the page.
Ask someone new to the experience to attempt the same journey. Their hesitation can reveal a missing instruction or an unclear control. Improve that small example before adding more models, elaborate animation, or extra interaction steps.
Prepare the asset with our guide to AR scale, materials, and file formats. For the browser side, explore how WebXR sessions and device capabilities work. Both guides turn this overview into a practical review process.
Further reference: MDN: WebXR session modes, capabilities, and permissions.
Compare virtual and augmented reality by room context, object placement, interaction, and practical use rather than the hologram label.
Read the guideA practical asset preparation workflow covering real dimensions, origins, materials, GLB and USDZ delivery, validation, and testing in the intended AR viewer.
Read the guideA practical design checklist for motion, input alternatives, spatial text, captions, orientation, clear exits, and inclusive testing in AR and VR.
Read the guide